|
|
Joined: Feb 2014
Posts: 505
Major Contributor
|
OP

Major Contributor
Joined: Feb 2014
Posts: 505 |
Had some time tonight so I yanked the HEI and started taking it apart (engine stopped with the rotor pointing directly forward, made it easy to index). Took springs and weights off and I'm soaking them in rust evaporator to clean them up. Module and vacuum advance off. The oil pump shaft came out attached to the base of the distributor, a little different from the small block HEI. The cap and rotor are really clean inside. I measured the end play at the cam gear and came up with 0.097", although the distributor housing is not flat on the bottom with some raised teeth around the bottom.
I'm having trouble with the press pin connecting the gear and shaft. What size is it? What's the best method of removing it?
I've looked around and some sites say to use wheel grease and others say white lithium grease?
|
|
|
|
|
Joined: Feb 2014
Posts: 505
Major Contributor
|
|
OP
Major Contributor
Joined: Feb 2014
Posts: 505 |
Found a posting that the roll pin requires a 1/8" punch to tap it out. I'll stop by the hardware store tomorrow, and also the auto store to get some wheel bearing grease for top. I did loose one of the small clips on the center weight...launched across the garage, so I'll need to pick up a replacement too.
|
|
|
|
|
Joined: Feb 2014
Posts: 505
Major Contributor
|
|
OP
Major Contributor
Joined: Feb 2014
Posts: 505 |
Took some quick shots of my HEI on the way out the door this morning: 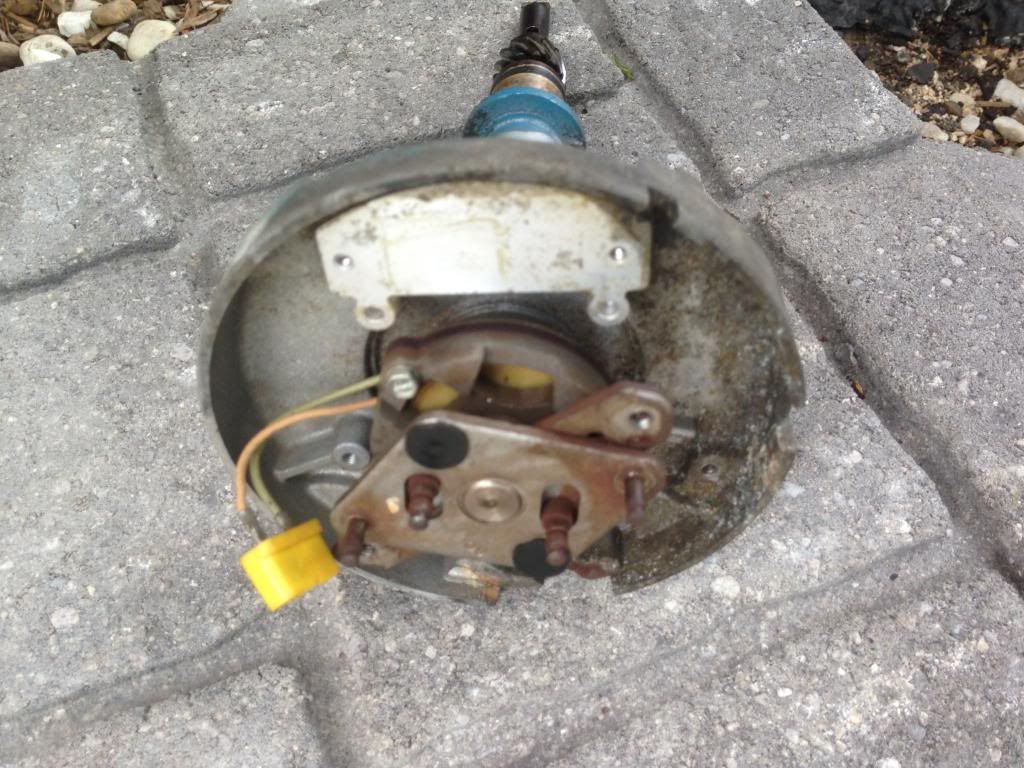 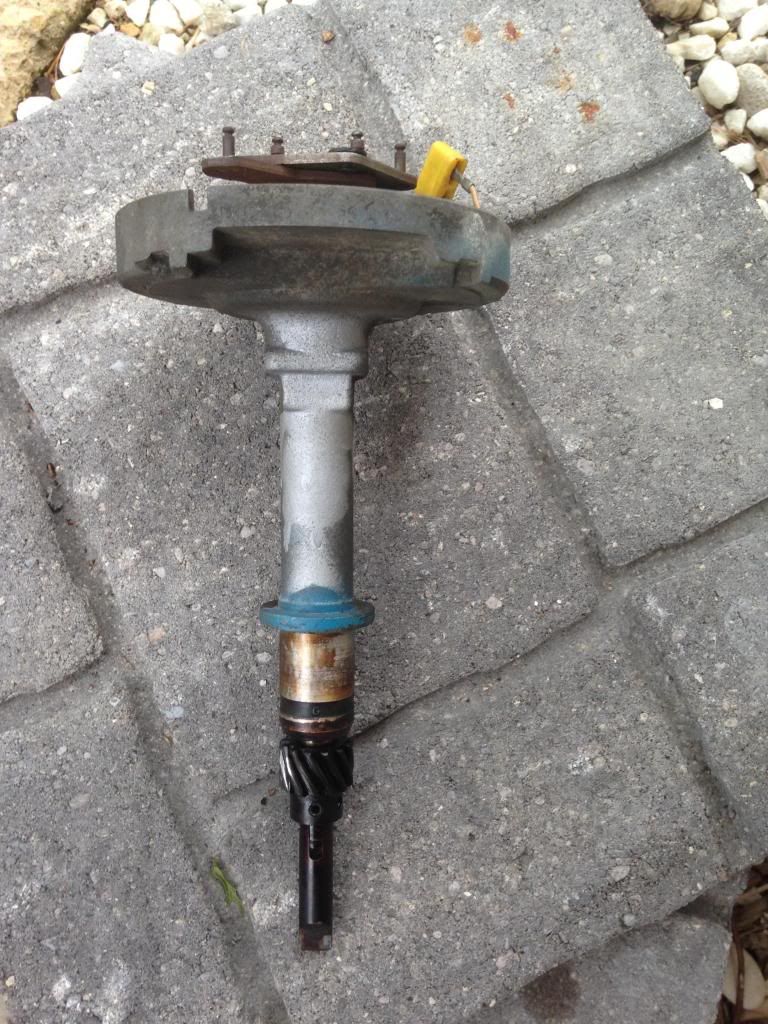
|
|
|
|
|
Joined: Sep 2004
Posts: 5,839 Likes: 1
1000 Post Club
|
|
1000 Post Club
Joined: Sep 2004
Posts: 5,839 Likes: 1 |
Cool,
just need to knock out the gears roll pin & clean up all that gunk between the shaft & the advance mechanism.
Another two piece distributer shaft, nice!
MBHD
12 port SDS EFI 
|
|
|
|
|
Joined: Feb 2014
Posts: 505
Major Contributor
|
|
OP
Major Contributor
Joined: Feb 2014
Posts: 505 |
Got the distributer apart, soaked parts in Rust Evaporator to remove the surface rust, cleaned up the housing and painted it with Alumi-blast to detail it. I reassembled most of it, but I didn't have a gasket for it and had to order it. I also put the gear on and partial tapped the roll pin in and measured it again. I came up with 0.086" gap, which was still pretty wide. So I ordered shims too along with a timing tape. The Camaro is idle in the driveway until I get the parts. After I took wheel bearing grease and filled the reservoirs and replaced the plastic cover, I greased the centrifugal parts and shaft. Once the springs were installed it is tough to advance and snaps right back when released. Huge improvement. Once I get the distributer back in, I'm going to set it back to the factory 6* initial advance and check the vacuum advance timing to see what it is working at. Then I'm going to check the centrifugal advance and see what the stock curve maps out to. Then I'll have a baseline to make changes from.
|
|
|
|
|
Joined: Feb 2014
Posts: 505
Major Contributor
|
|
OP
Major Contributor
Joined: Feb 2014
Posts: 505 |
Here's what my distributor looked like when I took everything out: 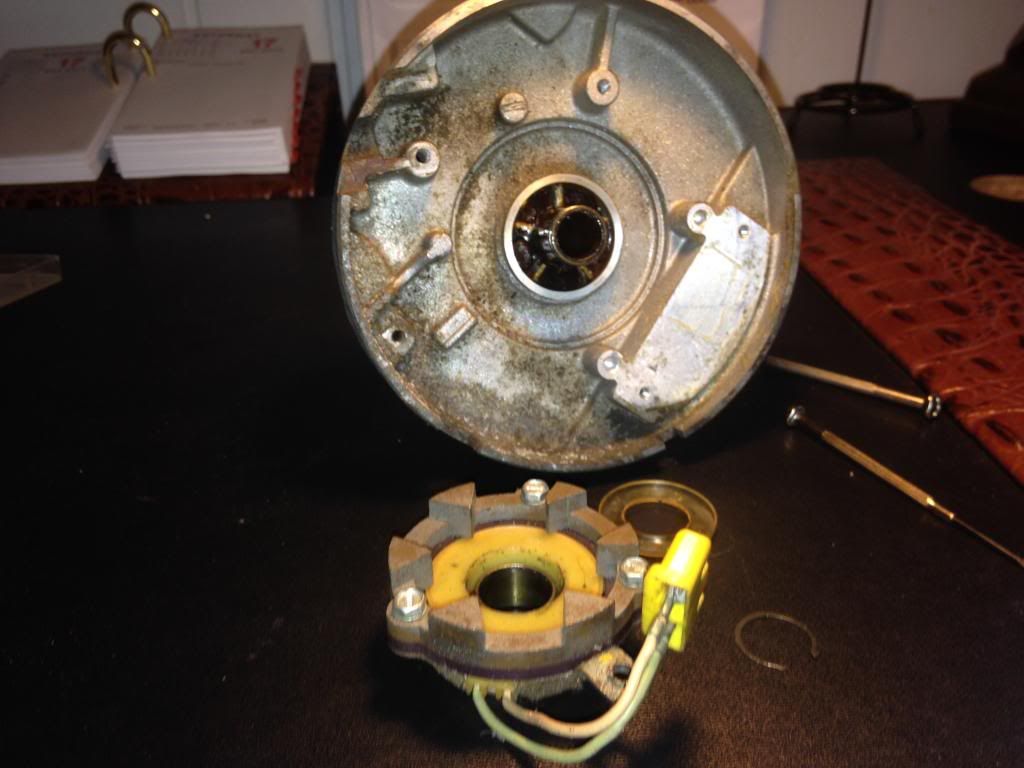 And here's what the 36 year old grease looked like: 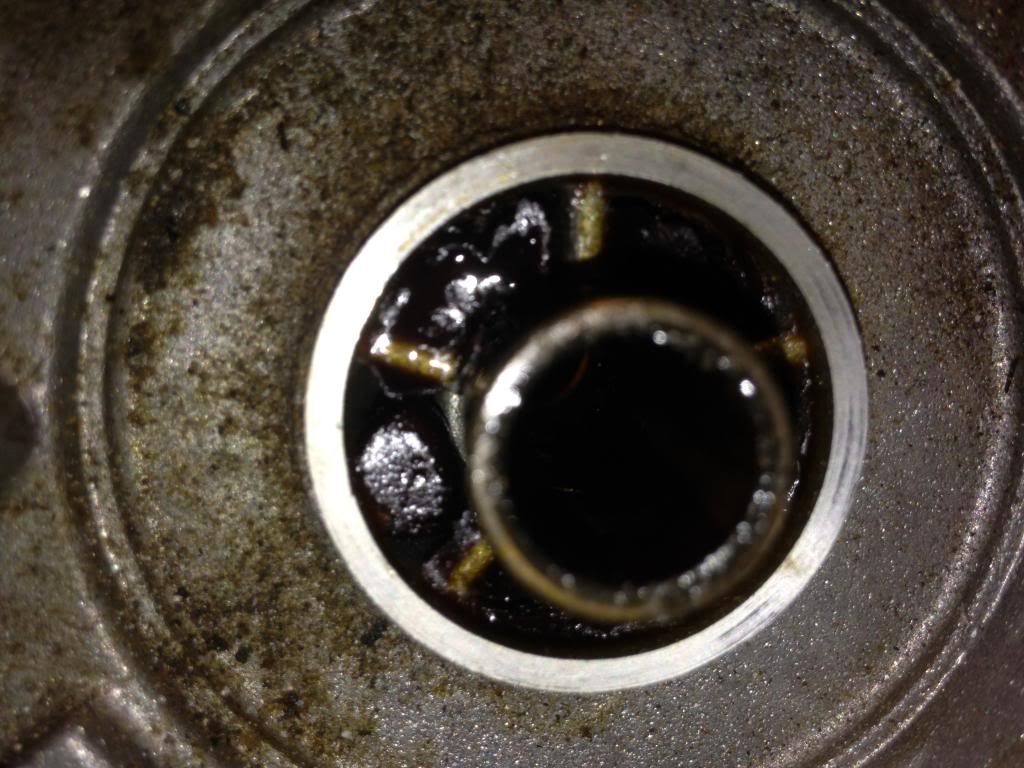 So I painted up the housing with Alumi-Blast to detail it: 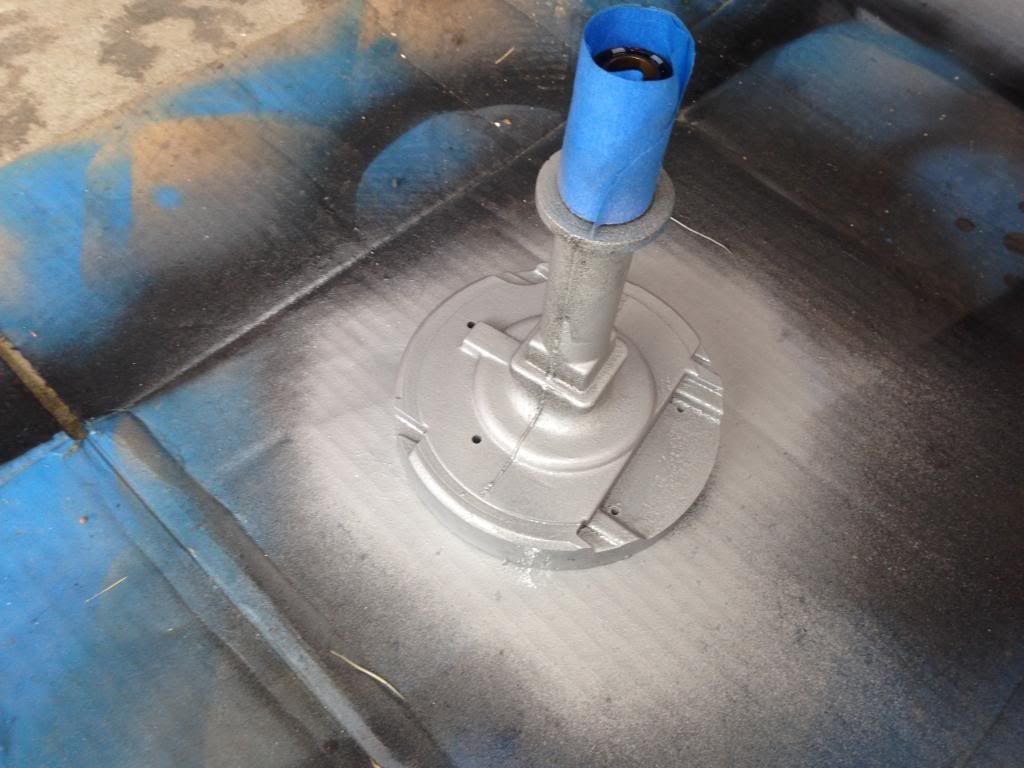 And here's all the parts of the centrifugal advance cleaned, greased and reassembled: 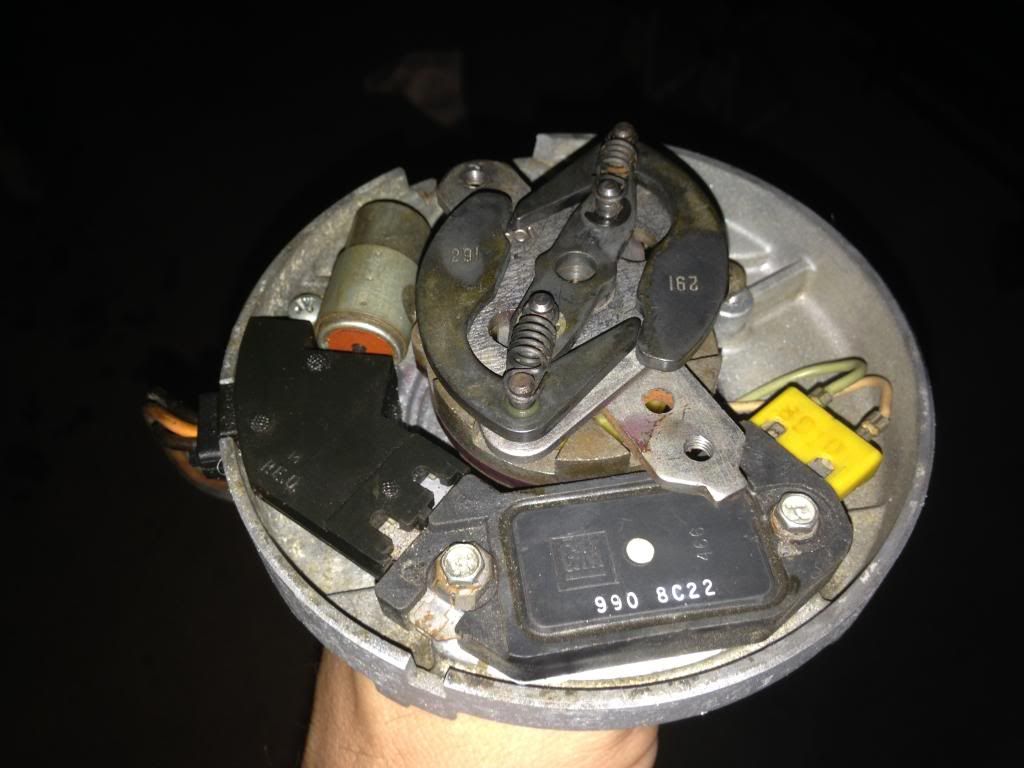 I also had to go to Radio Shack and get a tube of heat sink grease to coat underneath the module with.
Last edited by Lifeguard; 05/18/14 12:16 AM.
|
|
|
|
|
Joined: Feb 2014
Posts: 505
Major Contributor
|
|
OP
Major Contributor
Joined: Feb 2014
Posts: 505 |
Not much going on while I wait for parts. I got a couple of parts today, but not all of them to finish the distributor: 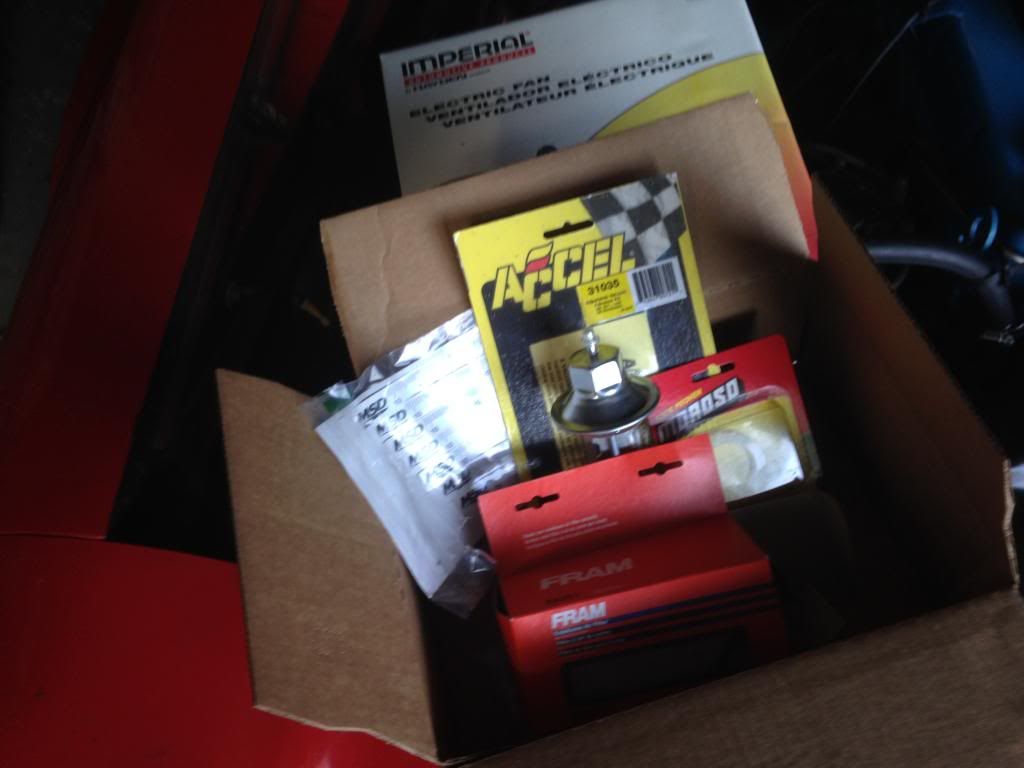 I did get the rust of the vacuum advance and I see it reads 619-24, which means its 24 degrees advance: 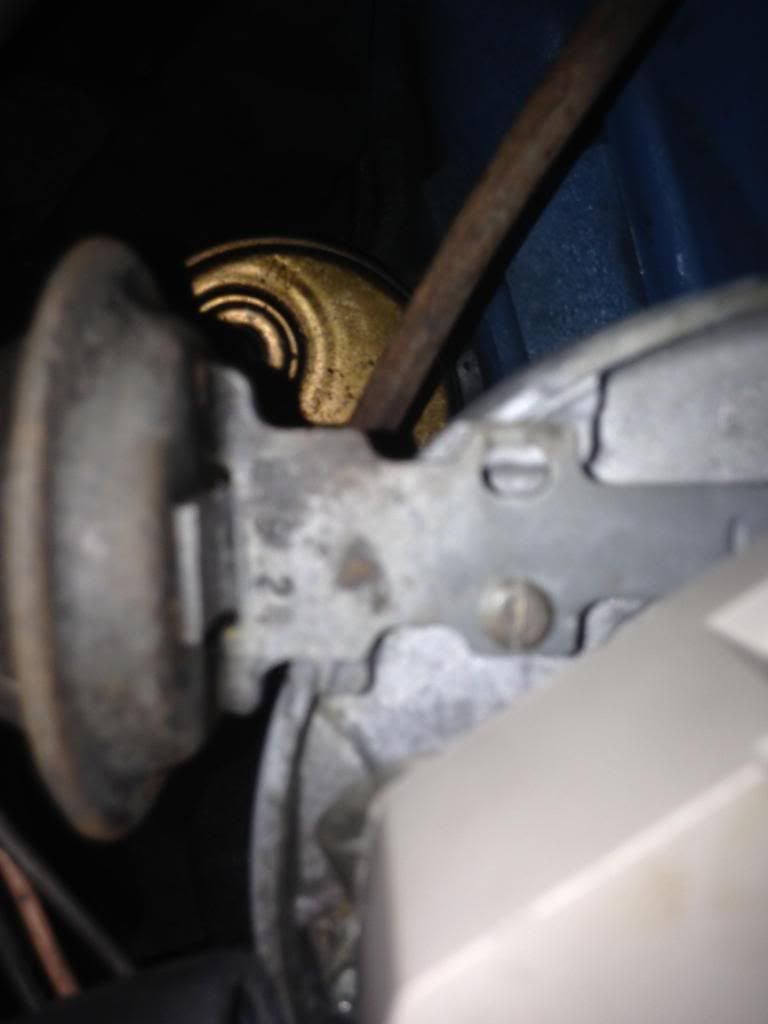 While I had nothing to do and the Camaro was laid up, I decided to improve the tailpipe. I need to get the heat gun out and get that decal off tho: 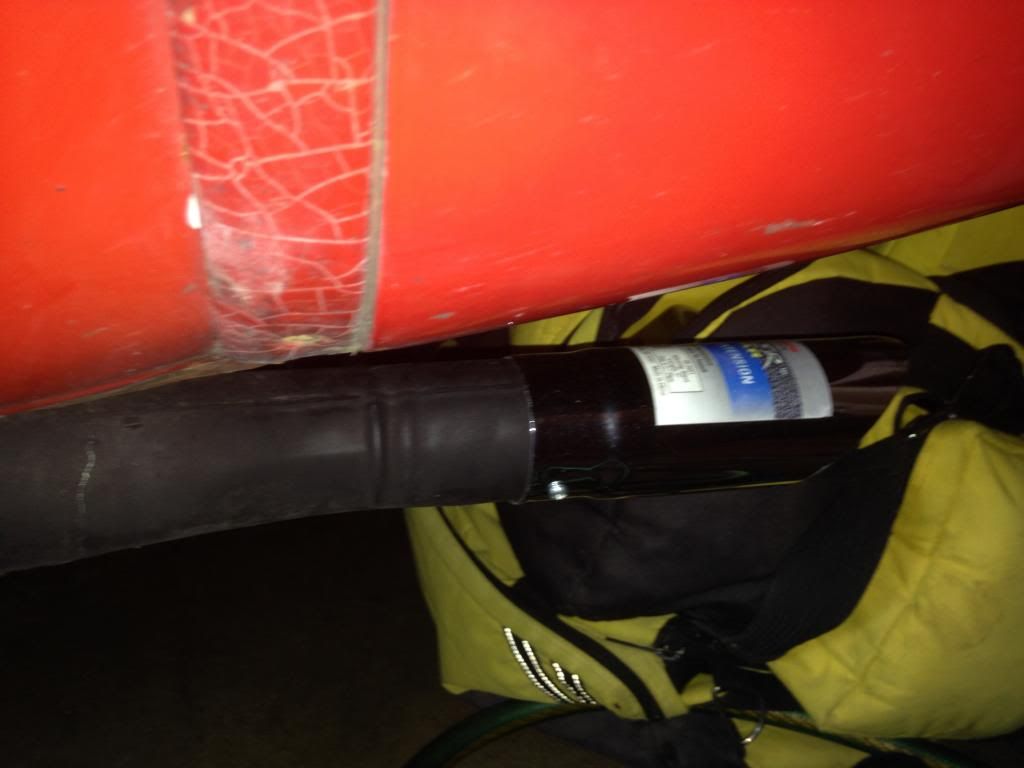
|
|
|
|
|
Joined: Feb 2014
Posts: 505
Major Contributor
|
|
OP
Major Contributor
Joined: Feb 2014
Posts: 505 |
Y-pipe for the exhaust came today. Still need the resonators and the other tailpipe and I can take it in to have the exhaust put together and welded. 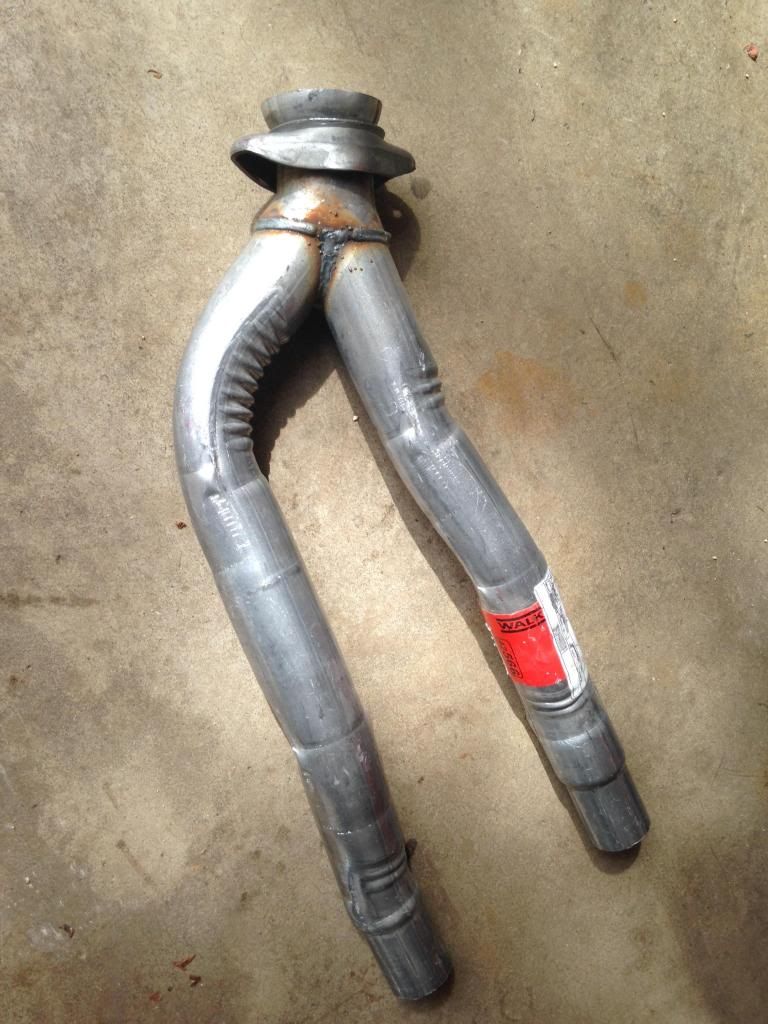 But my shims for the HEI are still AWOL. Hopefully tomorrow.
|
|
|
|
|
Joined: Nov 2013
Posts: 482
Contributor
|
|
Contributor
Joined: Nov 2013
Posts: 482 |
I know of a nova that needs one of those!!! Something to watch out for on the HEI is where the white and green wires go into the coil sometimes after being twisted back and forth a million times with the vacum advance the wire will break inside likr a coat hanger bent over and over. The ones that I have seen go bad the insulation is still good on the wire. Jay 6155
|
|
|
|
|
Joined: Feb 2014
Posts: 505
Major Contributor
|
|
OP
Major Contributor
Joined: Feb 2014
Posts: 505 |
Yeah, I was thinking about replacing those given their location. They seem OK, but it is a moving part.
|
|
|
|
|
Joined: Apr 2004
Posts: 3,555 Likes: 34
1000 Post Club
|
|
1000 Post Club
Joined: Apr 2004
Posts: 3,555 Likes: 34 |
The shims are not needed on the 6 cyl HEI. They won't hurt either.
Inliner Member 1716 65 Chevelle Wagon and 41 Hudson Pickup Information and parts www.12bolt.com
|
|
|
|
|
Joined: Feb 2014
Posts: 505
Major Contributor
|
|
OP
Major Contributor
Joined: Feb 2014
Posts: 505 |
The shims are not needed on the 6 cyl HEI. They won't hurt either. So the six cylinder HEI doesn't ride up in the cam gear like the V8 HEI, causing timing variation? I was surprised at the amount of slack in the unit from the factory.
|
|
|
|
|
Joined: Sep 2004
Posts: 5,839 Likes: 1
1000 Post Club
|
|
1000 Post Club
Joined: Sep 2004
Posts: 5,839 Likes: 1 |
I usually shim up the distributer,, just don't shim it too tight.
MBHD
12 port SDS EFI
|
|
|
|
|
Joined: Feb 2014
Posts: 505
Major Contributor
|
|
OP
Major Contributor
Joined: Feb 2014
Posts: 505 |
I'm at 0.086", and the recommendations you always see are 0.020" to no less than 0.010". I'll probably shoot for from 0.015" and 0.020".
|
|
|
|
|
Joined: Sep 2004
Posts: 5,839 Likes: 1
1000 Post Club
|
|
1000 Post Club
Joined: Sep 2004
Posts: 5,839 Likes: 1 |
.020" sounds good to me.
MBHD
12 port SDS EFI
|
|
|
|
|
Joined: Feb 2014
Posts: 505
Major Contributor
|
|
OP
Major Contributor
Joined: Feb 2014
Posts: 505 |
Shims came today, I shimmed it to .020". I'm not sure if I need to shim the base of the distributor too or just use the replacement gasket?
|
|
|
|
|
Joined: Sep 2004
Posts: 5,839 Likes: 1
1000 Post Club
|
|
1000 Post Club
Joined: Sep 2004
Posts: 5,839 Likes: 1 |
A gasket should do it.
MBHD
12 port SDS EFI
|
|
|
|
|
Joined: Feb 2014
Posts: 505
Major Contributor
|
|
OP
Major Contributor
Joined: Feb 2014
Posts: 505 |
Tuned it all up to factory specs yesterday and drove it about 50 miles yesterday and filled it up. Last fill up was in March, so I totaled the miles and I got 16.9mpg. A lot of that gas was used sitting in the driveway running while I tuned and troubeshooted it, so that was a little on the low side. Using the stock settings (and hopefully get the rest of the exhaust on and replace the plug wires and coil), I'm going to drive this tank down with some mixed mainly city driving and see what the mileage is then. Then maybe do a highway run to get the max mpg out of it. Although the speed limit is 70mph here now, which is probably not peak for fuel efficiency for the 2.73:1 axle in third gear.
|
|
|
|
|
Joined: Sep 2004
Posts: 5,839 Likes: 1
1000 Post Club
|
|
1000 Post Club
Joined: Sep 2004
Posts: 5,839 Likes: 1 |
Did you install the light weight springs in the distributer?
If it is not pinging, you could possibly advance the timing more. That should net you more MPG's.
At 70 MPH, what RPM does it turn at?
MBHD
12 port SDS EFI
|
|
|
|
|
Joined: Feb 2014
Posts: 505
Major Contributor
|
|
OP
Major Contributor
Joined: Feb 2014
Posts: 505 |
No I put the stock weights back and I'm checking their advance curve so I have a baseline to make adjustments to. I have a spring kit and an adjustable vacuum advance, so I have full adjustability. It's not pinging that I know of, but under load the exhaust tends to bang against the bottom of the floorboards so it makes it hard to hear for sure. But it's stock settings, so it should be nowhere close on the 8.1:1 CR with 87 octane.
I don't have a tach in the dash, so I don't know what it reads at 70mph. But the math says:
(70mph x 2.73 ratio x 336) / 26.5" tire diameter = 2,423rpm
Last edited by Lifeguard; 05/27/14 12:36 AM.
|
|
|
|
|
Joined: Sep 2004
Posts: 5,839 Likes: 1
1000 Post Club
|
|
1000 Post Club
Joined: Sep 2004
Posts: 5,839 Likes: 1 |
With the stock springs & weights, the advance comes in way too late. Plus your mileage will suffer also.
2423 RPM is a little past the efficiency range to get mileage.
MBHD
12 port SDS EFI
|
|
|
|
|
Joined: Feb 2014
Posts: 505
Major Contributor
|
|
OP
Major Contributor
Joined: Feb 2014
Posts: 505 |
Yeah, I was figuring on changing the springs after I map out the stock advance curve and did some driving to figure the stock mpg. Then start experimenting with initial and mechanical advance to find the best combo. Keeping initial and vacuum advance at a total of 30 degrees. I still need to finish my exhaust, and replace the cap, rotor, plug wires and add a supercoil.
55mph was the national speed limit in '78, so i figure the gearing was set up to get best mileage at that speed or under:
(55mp x 2.73 ratio x 336) / 26" stock tire diameter = 1,940 rpm
|
|
|
|
|
Joined: Feb 2014
Posts: 505
Major Contributor
|
|
OP
Major Contributor
Joined: Feb 2014
Posts: 505 |
I should also get a vacuum gauge to get a better idea of what the changes are doing, besides just listening for the pinging and then dialing back.
|
|
|
|
|
Joined: Feb 2014
Posts: 505
Major Contributor
|
|
OP
Major Contributor
Joined: Feb 2014
Posts: 505 |
Damn, battery developed a bad cell. Two now in the last few months. I'm thinking I need to swap out the original alternator. Yet another expense.
|
|
|
|
|
Joined: Feb 2014
Posts: 505
Major Contributor
|
|
OP
Major Contributor
Joined: Feb 2014
Posts: 505 |
The alternator made a big difference. Bearing was shot, that really quieted everything under the hood down. I gotta get the timing tape on the balancer and check the vacuum advance and the centrifugal advance curve to see my baseline. Also need to check my tuning, still starts hard on cold starts, and dies at stops until warmed up.
|
|
|
|
|
Joined: Sep 2008
Posts: 3,669 Likes: 42
1000 Post Club
|
|
1000 Post Club
Joined: Sep 2008
Posts: 3,669 Likes: 42 |
Timing is still a little low if its only at 30° total, that could be the reason for hard starting also because the initial could also be proportionally low. Make sure the carb isn't losing its prime when sitting overnight or for long periods.
Class III CNC Machinist/Programmer
|
|
|
|
|
Joined: Feb 2014
Posts: 505
Major Contributor
|
|
OP
Major Contributor
Joined: Feb 2014
Posts: 505 |
Yeah, that's the factory timing, which might be why late '70s cars were such hard starters. Now the vacuum advance has a thermo-valve plugged into the water neck in the middle of the vacuum line. I'm not sure how that works, if it opens up at a certain temperature, or closes off. I had replaced that valve a few years back.
I'll check the prime, but the new fuel pump I installed a year ago so it should be in good shape. Carb side might be an issue on the prime.
|
|
|
|
|
Joined: Sep 2008
Posts: 3,669 Likes: 42
1000 Post Club
|
|
1000 Post Club
Joined: Sep 2008
Posts: 3,669 Likes: 42 |
You might also find that many of the OEM carb and timing settings will no longer apply today because of the differences in today's gas being blended with alcohol, and having totally different characteristics than back in the early 70's from which those specs are largely based. So trying to use outdated specs may end up being futile for providing accurate fine tuning.
Class III CNC Machinist/Programmer
|
|
|
|
|
Joined: Feb 2014
Posts: 505
Major Contributor
|
|
OP
Major Contributor
Joined: Feb 2014
Posts: 505 |
Good point. It might be beneficial to desmog the Monojet too, as all the adjustments for the late '70s carbs are set at the factory and then caped. I should maybe read up on my carb and figured out what plugs to drill out and start making adjustments to try to optimize for modern 87 octane.
|
|
|
|
|
Joined: Feb 2014
Posts: 505
Major Contributor
|
|
OP
Major Contributor
Joined: Feb 2014
Posts: 505 |
The passenger tailpipe came, and I fitted it up and put my exhaust tips on them:  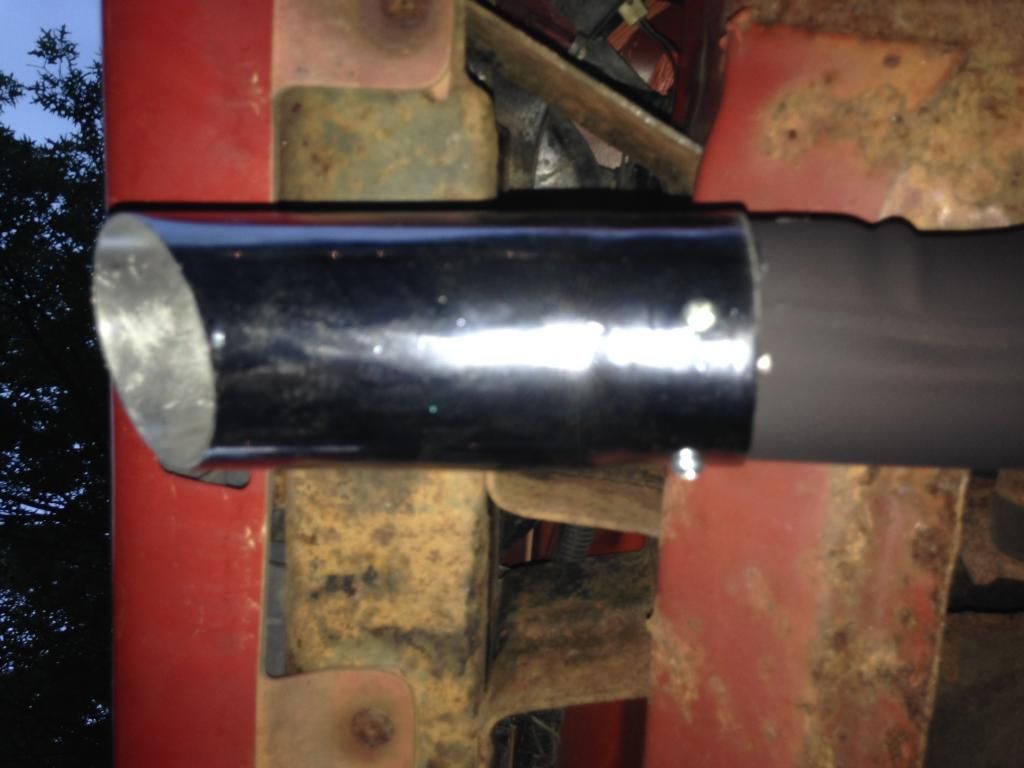 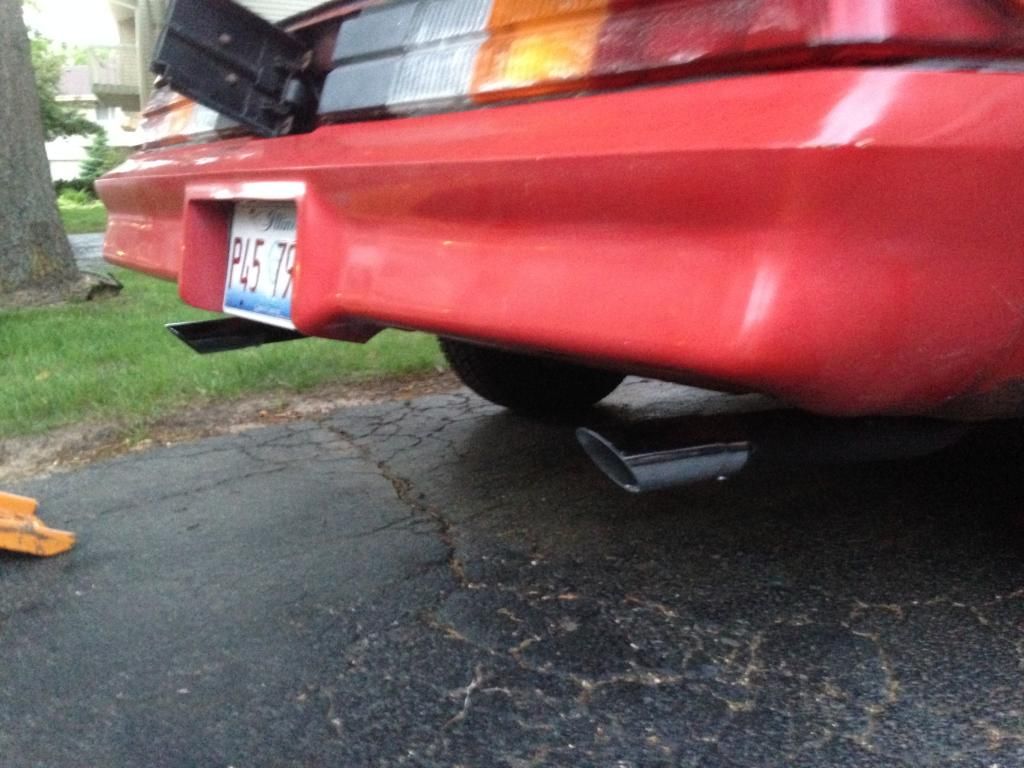 Just waiting on resonators and I can take it into my shop and have the custom pipe made from header pipe to Y-pipe, and have it all welded up. Still playing with the timing. The vacuum advance was right on at 24 degrees (+6* initial advance = 30* idle advance). But my new adjustable vacuum advance says that it only goes to 20*, so I'll have to back it all the way out and see what it does, and may have to adjust the initial up to maintain the 30* total. I gotta get the wife out to help with the centrifugal advance. She'll hold the timing light and watch the tape, while I watch the tach and adjust the throttle to map out the advance for a baseline. Then I can finally play with my new springs.
|
|
|
|
|
Joined: Sep 2004
Posts: 5,839 Likes: 1
1000 Post Club
|
|
1000 Post Club
Joined: Sep 2004
Posts: 5,839 Likes: 1 |
I believe the resonators are just going to restrict the exhaust even more. Unless you just want it quieter? Less performance? There is no reason to even mess w/the stock centrifugal advance springs, they are good for smog & passing lower emissions. I would just throw in the aftermarket springs & do adjustments from that point. You are just going to end up using those aftermarket springs & not even use the stock springs, the stock springs are too stiff. They will not give you enough advance & the advance you will get will come in way too late. Just trying to save you some time & not bother your wife. (unless she likes doing that type of stuff?) Just my two cents. http://temp.corvetteforum.net/c3/joeveto/Vacuum_Advance_and_Recurve.shtmlMBHD
12 port SDS EFI
|
|
|
|
|
Joined: Feb 2014
Posts: 505
Major Contributor
|
|
OP
Major Contributor
Joined: Feb 2014
Posts: 505 |
Thanks. I'm just doing a baseline measurement with the stock springs so I know what the factory did, and so I have an idea of how much I am changing things. Also so I can report my results and help others who are tuning.
Yes I do need quiet, I live in a condo association and can't run a straight exhaust or glass packs.
|
|
|
|
|
Joined: Sep 2004
Posts: 5,839 Likes: 1
1000 Post Club
|
|
1000 Post Club
Joined: Sep 2004
Posts: 5,839 Likes: 1 |
I understand what you are doing.
Nobody ever keeps the stock distributer springs, unless they just want it stock.
Worse mileage, less performance. Don't think anyone wants those two items.
I do not think anyone wants to know what the stock distributer springs advance does, but, could be wrong I guess.
Have fun in your quest.
MBHD
12 port SDS EFI
|
|
|
|
|
Joined: Feb 2014
Posts: 505
Major Contributor
|
|
OP
Major Contributor
Joined: Feb 2014
Posts: 505 |
Agreed, the stock springs will go before the next fill up.
|
|
|
|
|
Joined: Nov 2012
Posts: 551
Major Contributor
|
|
Major Contributor
Joined: Nov 2012
Posts: 551 |
Lifeguar you do what you want get all the info you can it could never hurt
Josh
72 gmc lwb air ride 5 speed (soon) turbo 292 II# 6102
|
|
|
|
|
Joined: Feb 2014
Posts: 505
Major Contributor
|
|
OP
Major Contributor
Joined: Feb 2014
Posts: 505 |
Lifeguar you do what you want get all the info you can it could never hurt That's my training as a scientist. Always measure and document.
|
|
|
|
|
Joined: Feb 2014
Posts: 505
Major Contributor
|
|
OP
Major Contributor
Joined: Feb 2014
Posts: 505 |
|
|
|
|
|
Joined: Feb 2014
Posts: 505
Major Contributor
|
|
OP
Major Contributor
Joined: Feb 2014
Posts: 505 |
And here's a couple of shots of the passenger side intermediate and tailpipe installed. They didn't turn out well, there's a glare on them: 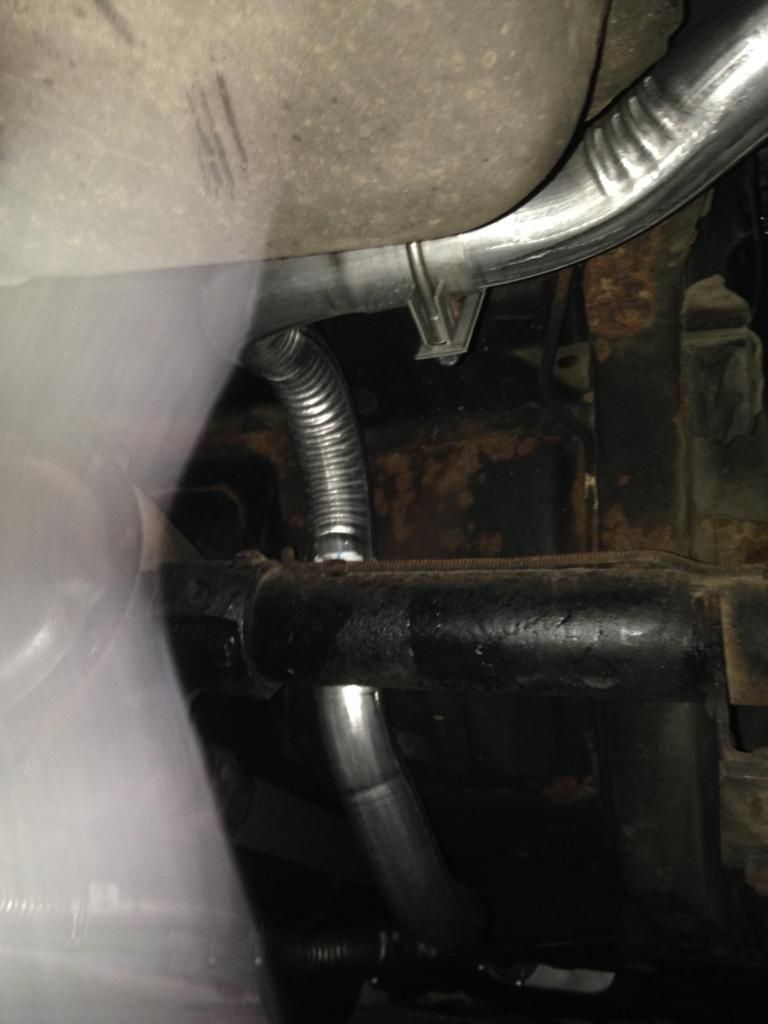 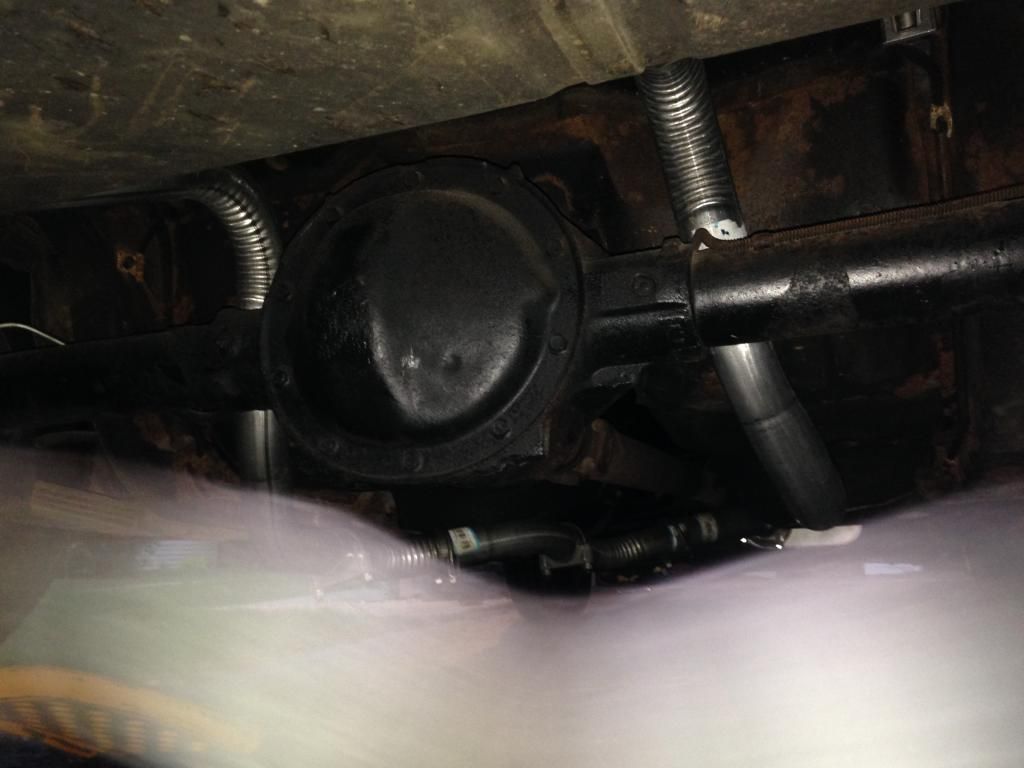
|
|
|
|
|
Joined: Nov 2013
Posts: 482
Contributor
|
|
Contributor
Joined: Nov 2013
Posts: 482 |
Thanks a lot. Looks like the pipes will work on the nova. Jay 6155
|
|
|
|
|
Joined: Feb 2014
Posts: 505
Major Contributor
|
|
OP
Major Contributor
Joined: Feb 2014
Posts: 505 |
Should. Underneath, they're the same car.
|
|
|
|
0 members (),
252
guests, and
29
robots. |
|
Key:
Admin,
Global Mod,
Mod
|
|
|
|


