Greetings . . .
I am pleased to announce the launch of a new feature here at the Inliners Forums the ability to upload photographs for use in Discussion Forum postings!
This feature is part of the UBB.threads platform that powers our Forums. It is a called a Gallery Forum. The new forum Photo Library appears last in the Forum List below Swap Meet.
To ensure a smooth launch I have put together a quick tutorial on how to curate photos, create a gallery posting, upload photos and then use the UBB.code IMG tags to display those photos in a Discussion Forum posting.
In the interest of completeness - lets start first with a closely related discussion about curating photos - specifically image file sizing and aspect ratios.
The typical digital photo from a modern cell phone is of fairly high resolution. Photos from digital snap-shot cameras can be even higher in resolution and digital SLR camera images down right huge . . .
Here are some photos from a car show that I shot with my Olympus:

As you can see this picture is over 4MB much to large to be rendered over the internet by someone reading a post. Clicking details will give us an indication of the aspect ratio of the photo (width x height) expressed in pixels:

A typical 4:3 ratio for a portrait oriented photo but in this case a huge 4K pixels wide by 3K pixels high.
The Gallery Forum tool expects us to curate our raw photos down-to-size for easy consumption from the internet. The good news is that this puts us in the drivers seat in terms of the properties of the photos we choose to publish here on the Inliners Forums. The guidelines are simple smaller file sizes render faster which is pleasing for our audience who might be on a slow internet connection (or even a smart phone with just a cellular link). Preserving the original aspect ratio of the photo is critical to preventing image distortion. In practice this means that we should Crop first and then Resize our images.
Cropping the raw image is important because this is our way of choosing WHICH pixels are the most important. The Windows Photos tool is easy to use. Simply open the file and then choose Edit & Create.
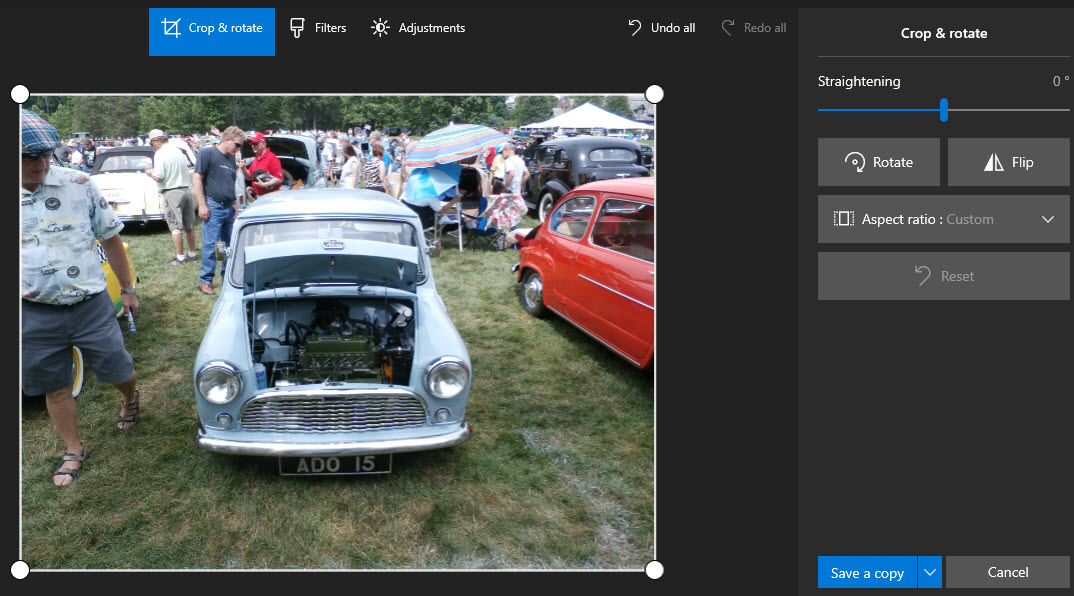
The tool preserves the original aspect ratio from the raw photo as you select which part of the photograph is relevant (by putting the rubber-band around it).
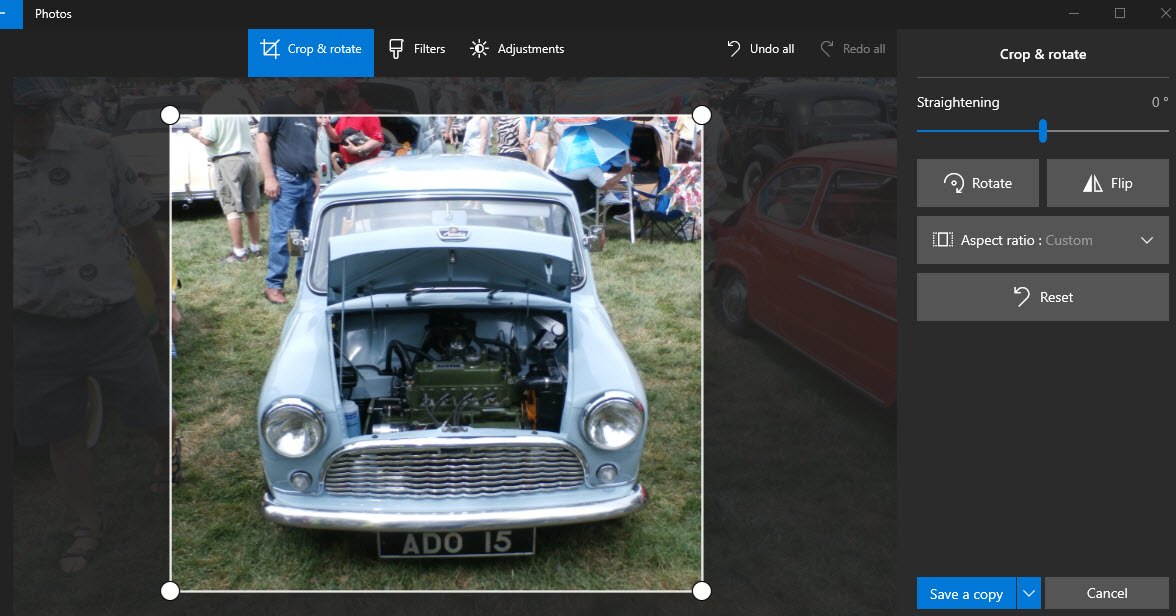
By choosing Save a Copy we have our newly cropped image saved on disk (2) - plus the original raw photo should we need to go back and crop again.
In this case the crop has the effect of zooming in on our subject an Austin 850:

The resulting file is just a fraction of the original 25% - but the image quality remains unchanged still fairly high resolution. Moreover, the zooming effect has resulted in an image that almost square a 3x3 ratio losing the guy in the sandals on the left, the car parked next door on the right and the next row in the show behind.
Now that we have cropped out just the pixels of interest we can scale the image down (in terms of resolution) by reducing the pixel count. For this I prefer the now ancient Windows Paint tool. This tool can be found by choosing the cropped image in Windows Explorer, right-click and select Open with > Paint. You will be surprised at how large the picture appears inside this old school tool from a lower resolution era. You can bring the entire photo into view by choosing View/Zoom out.
The Windows Paint resize tool allows us to scale the image down without altering its proportions. In this case we can see that the original resolution of the raw photo remains but we have zoomed in on the 2658 X 2318 pixels of interest:

Since we are resizing based on pixels we can choose precisely how wide the resized image will be in this case 768 pixels wide:

with the maintain aspect ratio flag checked the proportions of the original photo remain resulting in a smaller but undistorted image.
Once the image is resized you can perform a Save As to a file with a name that describes precisely what it is - in this case an Austin850. I usually put these into a cropped directory for easy identification and upload. Again a right click properties reveals the curated file size:
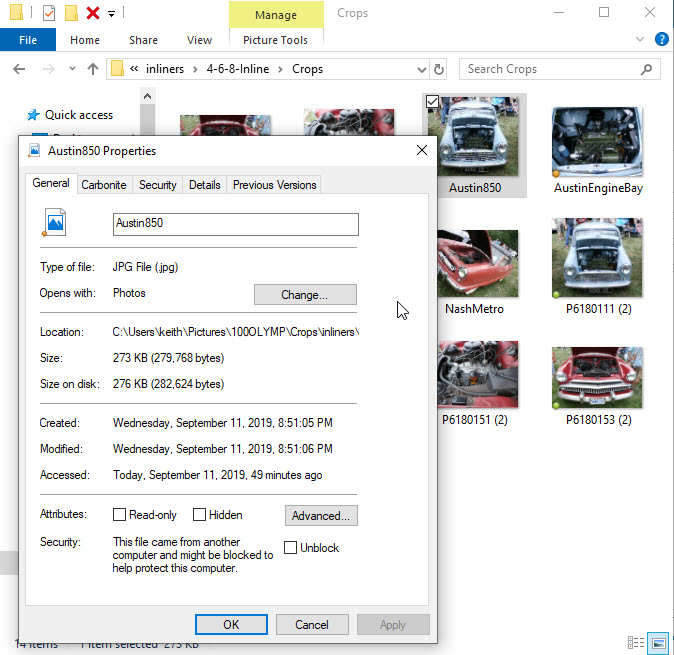
just 273K, a small fraction of the original raw photograph.
There are seven photographs in total that I wish to upload into the new Gallery post. By performing the steps above the result will be 7 compact photos that will all render with the exact same width of 768 pixels.
Now to the Gallery Tool itself. Open the forum by clicking Photo Library at the end of the Forum list:

Choose the New Image button:

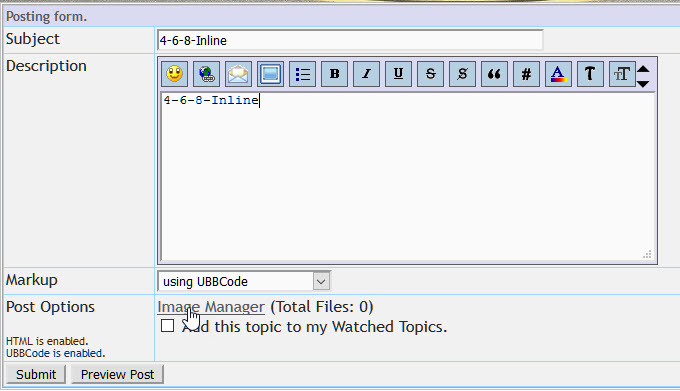
Both fields are compulsory when creating a new image posting. I use the same description in both:
Then choose the Image Manager link.
The Image Manager widget will appear in a pop-up window (make sure pop-ups arent blocked for inliners.org in your browser):

Next we can upload all of the files in a single step by browsing our cropped directory:

Selecting each file (1 at a time) and then choosing add file:

Once you have uploaded all of the files (a maximum of 12 per post) you can then click Done adding files:

and then choose submit.
In the first reply we will explore the resulting gallery post and how to integrate the photos into discussion forum posting.
Regards,
stock49